Replacing Your Husqvarna Lawn Tractor Drive Belt: A Step-by-Step Guide
Is your Husqvarna lawn tractor struggling to move? A worn drive belt is a common culprit, and thankfully, replacing it is often a manageable DIY project. This guide provides clear, step-by-step instructions for replacing your drive belt, covering both methods: with and without removing the mower deck. We'll prioritize safety and ensure you have the knowledge to get your lawn tractor back in action. Did you know that a properly maintained drive belt can extend the life of your tractor significantly? For similar repairs on other brands, check out this helpful guide on John Deere belt replacement.
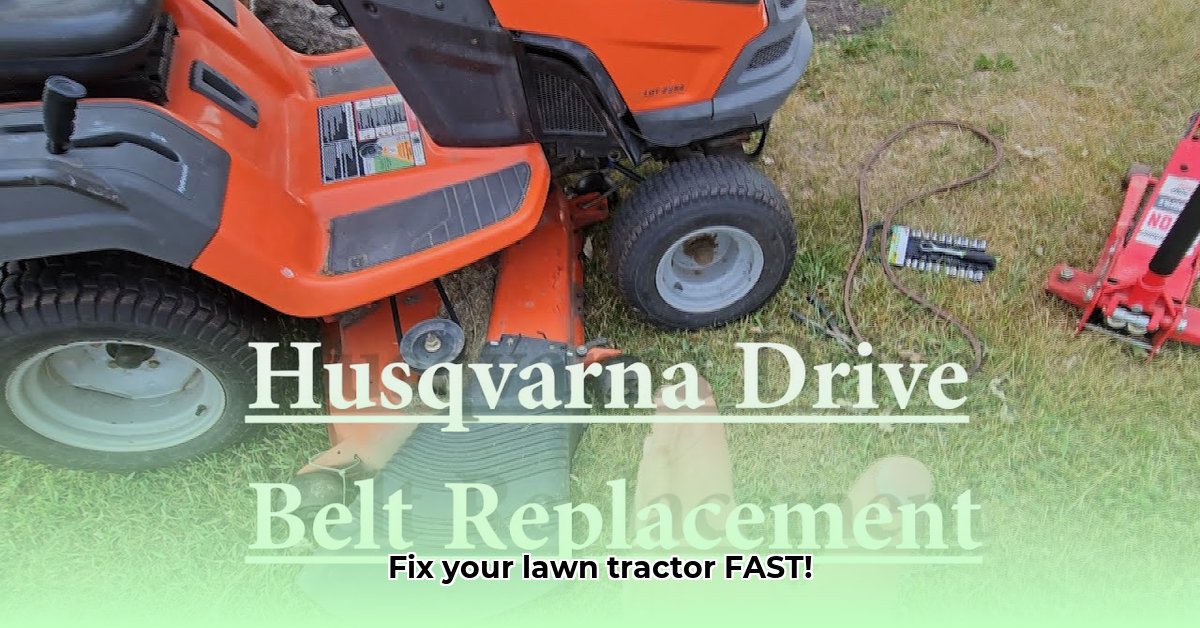
What You'll Need: Tools and Materials
Before you begin, gather these essential tools. Having everything ready will streamline the process:
- Socket wrench set (various sizes)
- Phillips head and flathead screwdrivers
- Jack or ramps (for safe access)
- Wheel chocks (crucial for safety)
- Work gloves
- Safety glasses
- New drive belt (essential: match your model number – check your owner's manual!)
- Needle-nose pliers (helpful for maneuvering the belt)
- Optional: Belt tensioning tool (simplifies tension adjustment)
Determining Your Approach: With or Without Deck Removal?
Crucially: consult your owner's manual! This is the single most important step. Some Husqvarna models allow belt replacement without removing the mower deck, while others require it. Choosing the wrong method can significantly complicate the process. Your owner's manual contains model-specific diagrams and instructions.
Method 1: Replacing the Belt Without Deck Removal (If Applicable)
This method is faster but only works on select Husqvarna models. Always check your owner's manual.
Safety First: Disconnect the spark plug wire to prevent accidental starting. This is paramount for your safety. Use a jack or ramps to lift the tractor, ensuring it's securely supported and the wheels are chocked.
Locate the Belt: Identify your drive belt. Its location varies by model; refer to your owner's manual for precise guidance.
Loosen the Tension: Find and operate the belt tensioning mechanism (a lever or bolt, as shown in your manual). Carefully release tension to loosen the belt.
Remove the Old Belt: Gently guide the old belt off the pulleys, taking care not to damage the pulleys themselves.
Install the New Belt: Carefully place the new belt onto the pulleys, following the exact routing of the old belt (check your manual!). Avoid kinks or twists.
Re-tension the Belt: Re-engage the tensioning mechanism, ensuring the belt is properly tensioned – again, consult your manual for the correct tension.
Lower the Tractor: Carefully lower your tractor from the jack or ramps.
Test Run: Reconnect the spark plug wire. Start the engine and test the drive system for proper function. Listen for unusual noises or belt slippage.
Method 2: Replacing the Belt with Deck Removal (If Necessary)
If your model requires deck removal, follow these steps:
Safety First (Again!): Disconnect the spark plug wire and securely lift the tractor using a jack or ramps, ensuring the wheels are chocked.
Remove the Deck: Carefully remove the mower deck following the instructions in your owner's manual. Take photos as you disassemble, as it will help during reassembly.
Access and Replace the Belt: With the deck removed, access the drive belt and follow steps 3-7 from Method 1 to remove the old belt and install the new one.
Reinstall the Deck: Carefully reinstall the mower deck, ensuring every bolt and linkage is properly secured.
Test Run: Reconnect the spark plug wire, start the engine, and test the drive system to confirm proper operation.
Troubleshooting Common Issues
Belt Slippage: Insufficient tension is the usual culprit. Re-adjust the belt tensioner according to your owner's manual.
Incorrect Belt Routing: Incorrect routing prevents the belt from engaging properly. Carefully re-route the belt, referencing your owner's manual for the correct path.
Pulley Damage: Damaged or worn pulleys can cause belt breakage. Inspect pulleys for wear and tear; if necessary, consult a service professional.
Final Notes: The Importance of Your Owner's Manual
Remember: this guide offers general instructions. Your specific Husqvarna model may have unique features. Always refer to your owner's manual for model-specific diagrams, precise instructions, and safety precautions. A little preparation goes a long way in ensuring a successful DIY repair. Now get out there and mow!